It's the typical end of the year craziness when school project, report, test, and presentations are due on top of the usual: teaching, cooking, cleaning, laundry-ing, and carpooling by the end of the day I am too tired to do anything else but sleeping.
On Mother's Day, I wanted to sew something that I have been wanting to make for a long time: fabric banner. There are probably tons of tutorial out there but I just want to go right into sewing so I did it my way.
First, make a triangle pattern on paper. The one I make was 7 inches wide then mark the middle point at 3.5 inch:

then go straight down to the 7.5 inch mark. Connect the points then you get your triangle:

fold the fabric then use fabric marker to copy the pattern to your chosen fabric. I used 6 different fabrics but you can use less of more as prefer.

I make four two-sided triangles with each fabric

the folded one looks like this:

iron them one by one:

then arrange them in a way you want it to be displayed:

put them on top of each other:

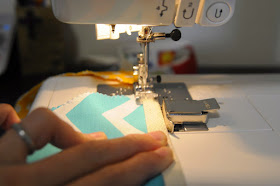
then start sewing the sides on zig-zag mode {or use serger if you own one}


I happened to have a left over 1 inch fabric rope to sew them on:

Fold it into half and iron:

Open the fold, sew the triangle at the folding line:

then fold the rope back and sew again:

That's it. I am done:

It brighten up the room and never fail to make me smile every time I see it. Didi even requested me to make one for his room.

Now you can make one for yourself. ;)
Post a Comment